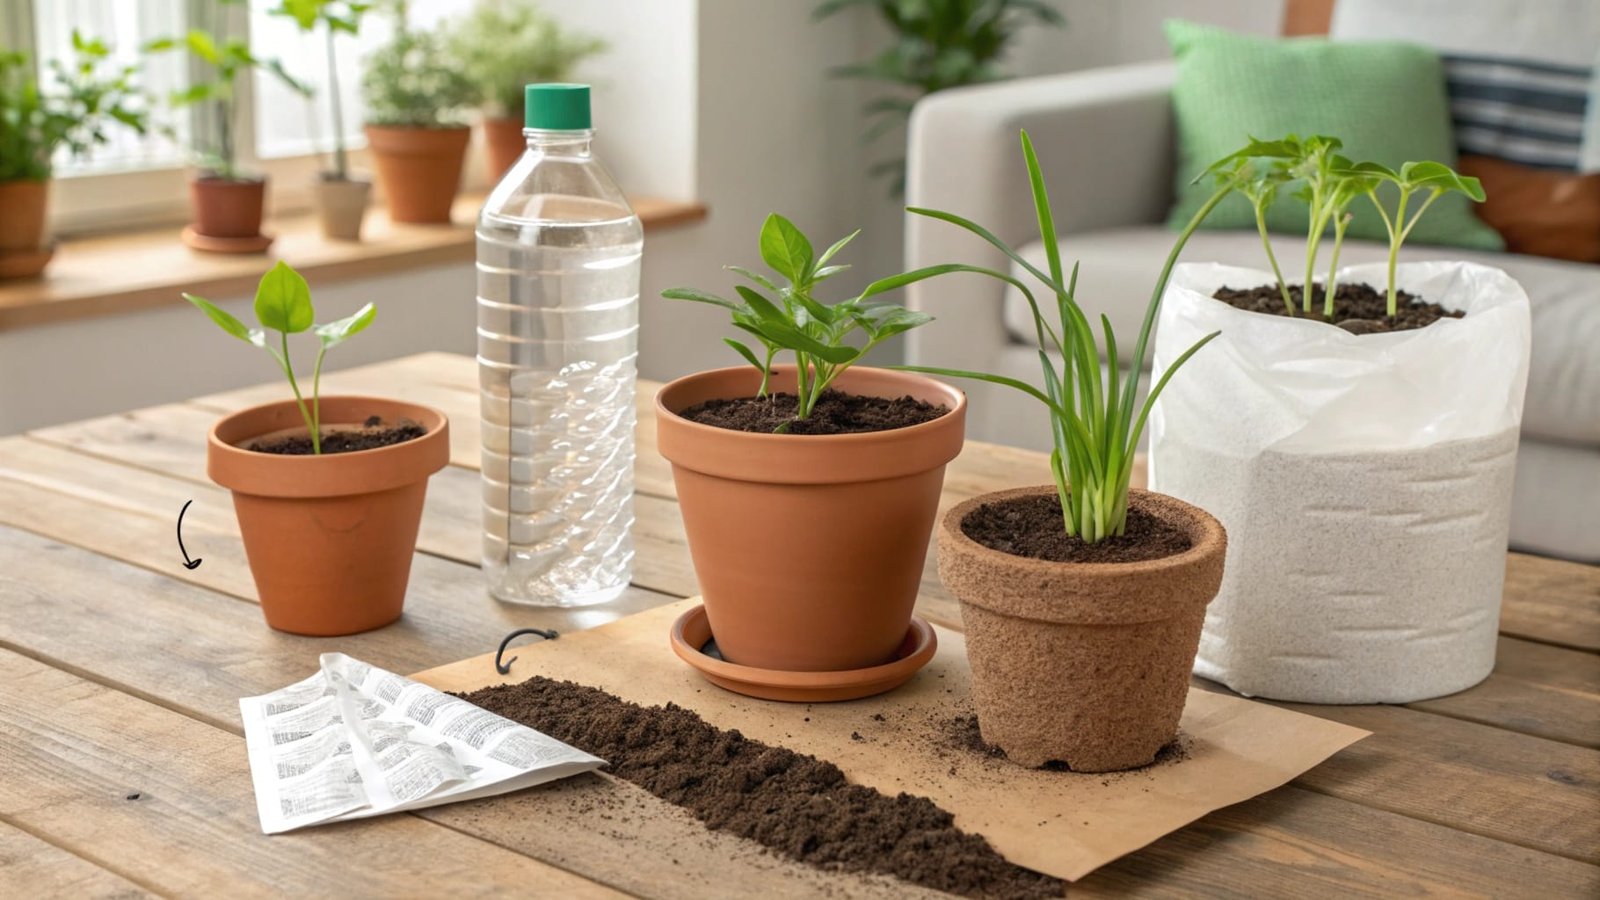
Creating your own plant pots at home is a fun, creative, and cost-effective way to enhance your gardening experience. It allows you to customize your plant containers while keeping expenses to a minimum. Whether you’re looking to recycle old items, try your hand at clay sculpting, or craft something biodegradable1, there are many ways to make plant pots without breaking the bank.
Making plant pots at home is a great way to save money and personalize your space. Recycled materials2, clay, or even biodegradable options are all possible.
Ready to get started? Let’s explore several practical and budget-friendly ways to create your own plant pots using everyday materials.
Can I Use Recycled Materials to Create Plant Pots?
Repurposing recycled materials to create plant pots is an excellent way to reduce waste while saving money. By reusing items that would otherwise end up in the trash, you can create stylish and functional planters for your home or garden. It’s a sustainable practice that makes your gardening project not only eco-friendly but also cost-effective.
Recycled items like plastic bottles, cans, and old containers are perfect for creating plant pots. Not only is it environmentally friendly, but it’s also very inexpensive.
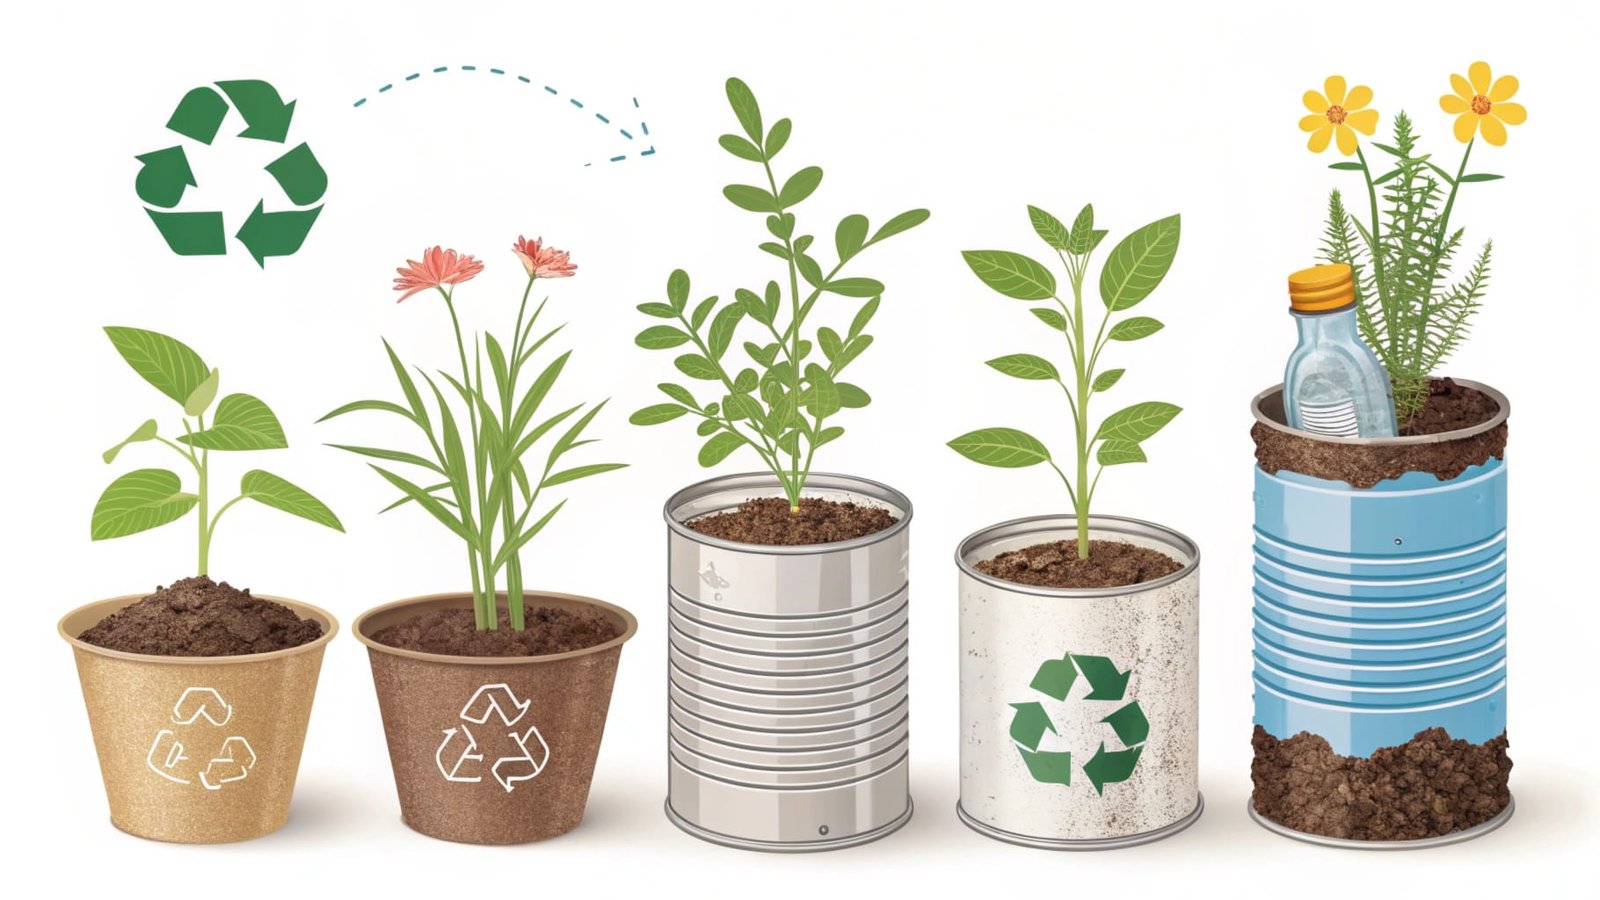
Types of Recycled Materials to Use
Many common household items can be turned into plant pots. Here are some great materials to repurpose:
- Plastic Containers: Old yogurt cups, margarine tubs, and small food containers are ideal for small plants like herbs or succulents. They’re easy to clean and can be cut and painted to fit your needs.
- Cans: Old soup or soda cans can be transformed into unique planters with just a few steps. Cans are sturdy, come in a variety of sizes, and have a rustic look when painted or decorated.
- Old Shoes or Boots: These can make quirky, fun planters, perfect for a garden with personality. Make sure the shoes have drainage holes to keep your plants healthy.
- Milk Cartons: Used milk cartons or juice cartons can be easily converted into sturdy, temporary pots. These containers are perfect for seedlings, and once the plants outgrow them, they can be transferred to larger pots or directly into the soil.
Step-by-Step Guide to Recycling Containers into Plant Pots
- Choose Your Container: Look for items that are sturdy enough to hold both soil and a plant. It’s essential that the material can handle moisture without falling apart.
- Clean the Container: Before using any recycled item, make sure it’s clean. Wash out food residues and dry the container thoroughly to prevent mold or bacteria growth.
- Create Drainage Holes: Use a nail, screw, or drill to create several holes at the bottom of the container. This is crucial to ensure proper water drainage and prevent root rot. Without drainage, your plant will struggle to grow.
- Decorate (Optional): You can paint your recycled pots or wrap them with twine, fabric, or decorative paper to make them more visually appealing. This can give them a fresh, trendy look and match your garden’s aesthetics.
- Add Soil and Plant: Finally, fill your new pot with soil, and plant your favorite plant inside. Be mindful not to overcrowd the pots to ensure good growth.
Benefits of Using Recycled Materials
- Cost-effective: You can reuse things you already have at home, which saves money. This is ideal for gardeners on a budget.
- Eco-friendly: Recycling helps reduce waste and keeps items out of landfills. By repurposing materials, you’re doing your part in reducing the environmental footprint.
- Customizable: You can decorate recycled pots to suit your home or garden decor. This gives you creative freedom to design your own plant pots in ways that reflect your personal style.
Recycling not only helps the planet, but it also allows you to create one-of-a-kind pots that reflect your personal style.
How Do I Make a Simple Pot from Clay or Soil at Home?
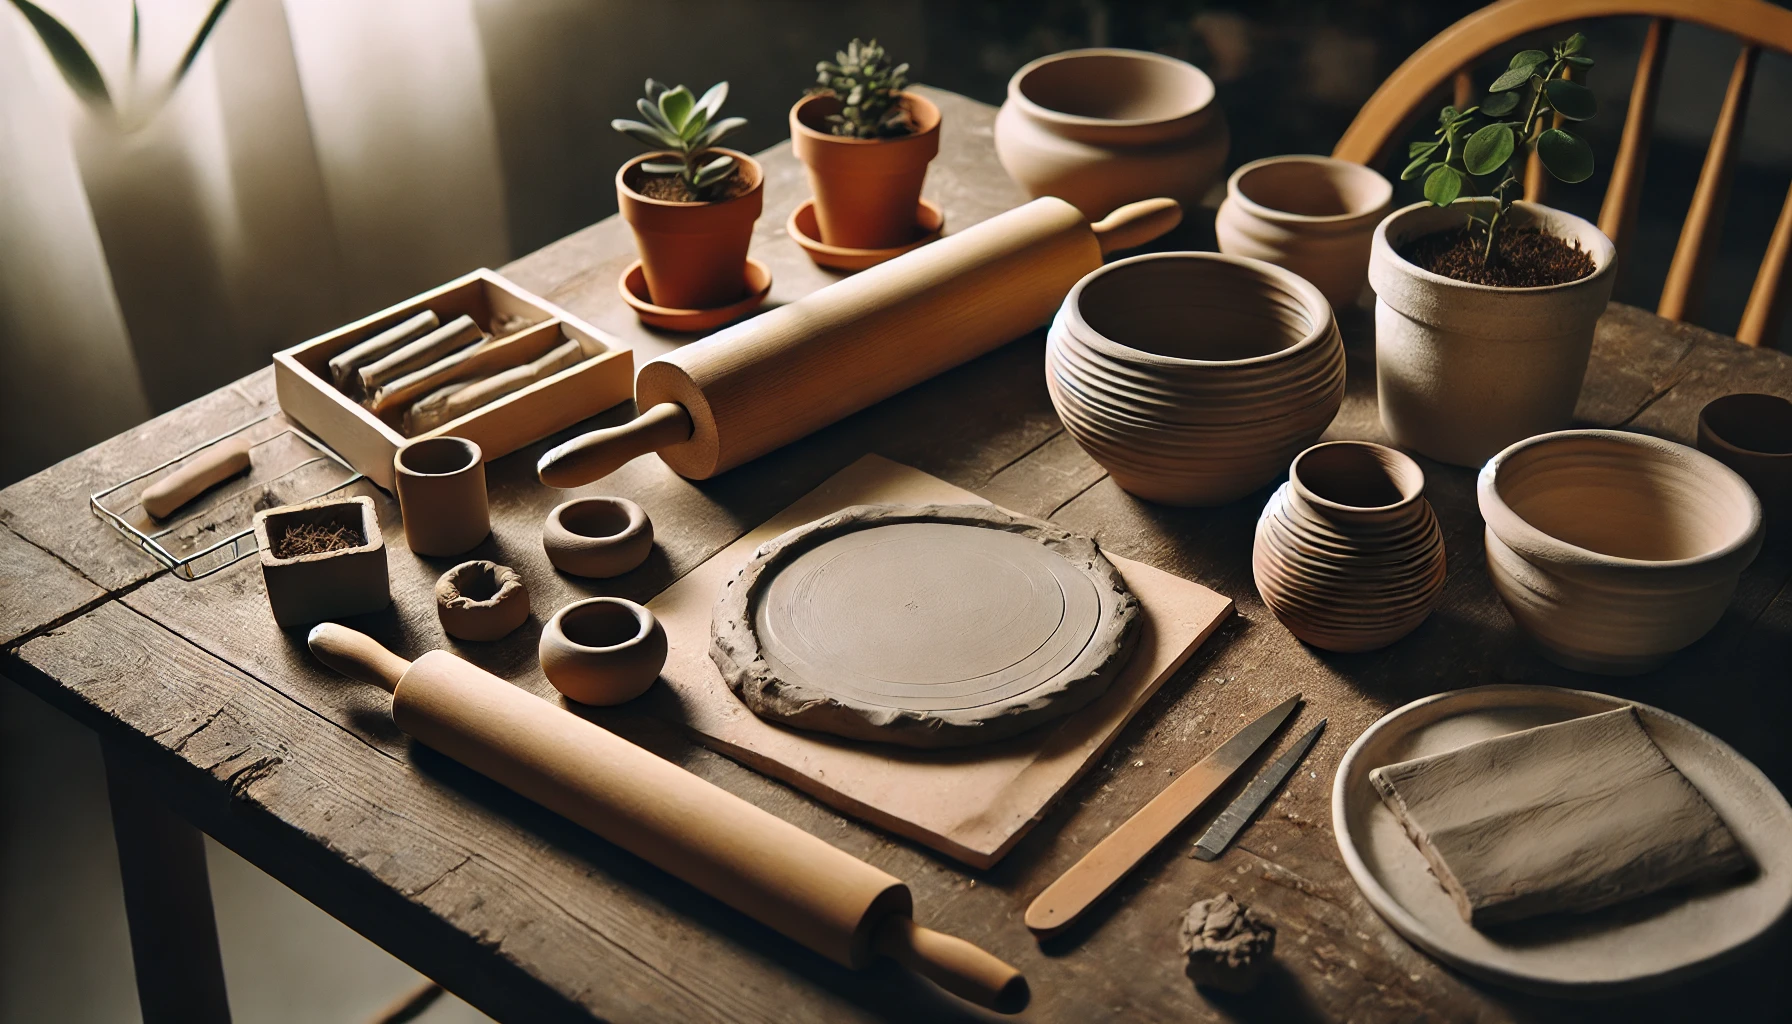
If you want to create a more traditional look, making pots from clay or soil is an excellent choice. Whether you use air-dry clay or oven-baked clay, the process is simple and provides a beautiful, earthy feel to your plant containers. Clay pots are known for being breathable, which allows air to circulate around the plant’s roots, promoting healthy growth.
Creating clay pots at home is a rewarding process that requires minimal materials and tools. They are durable, and the natural texture of clay adds a rustic, organic charm to your plants.
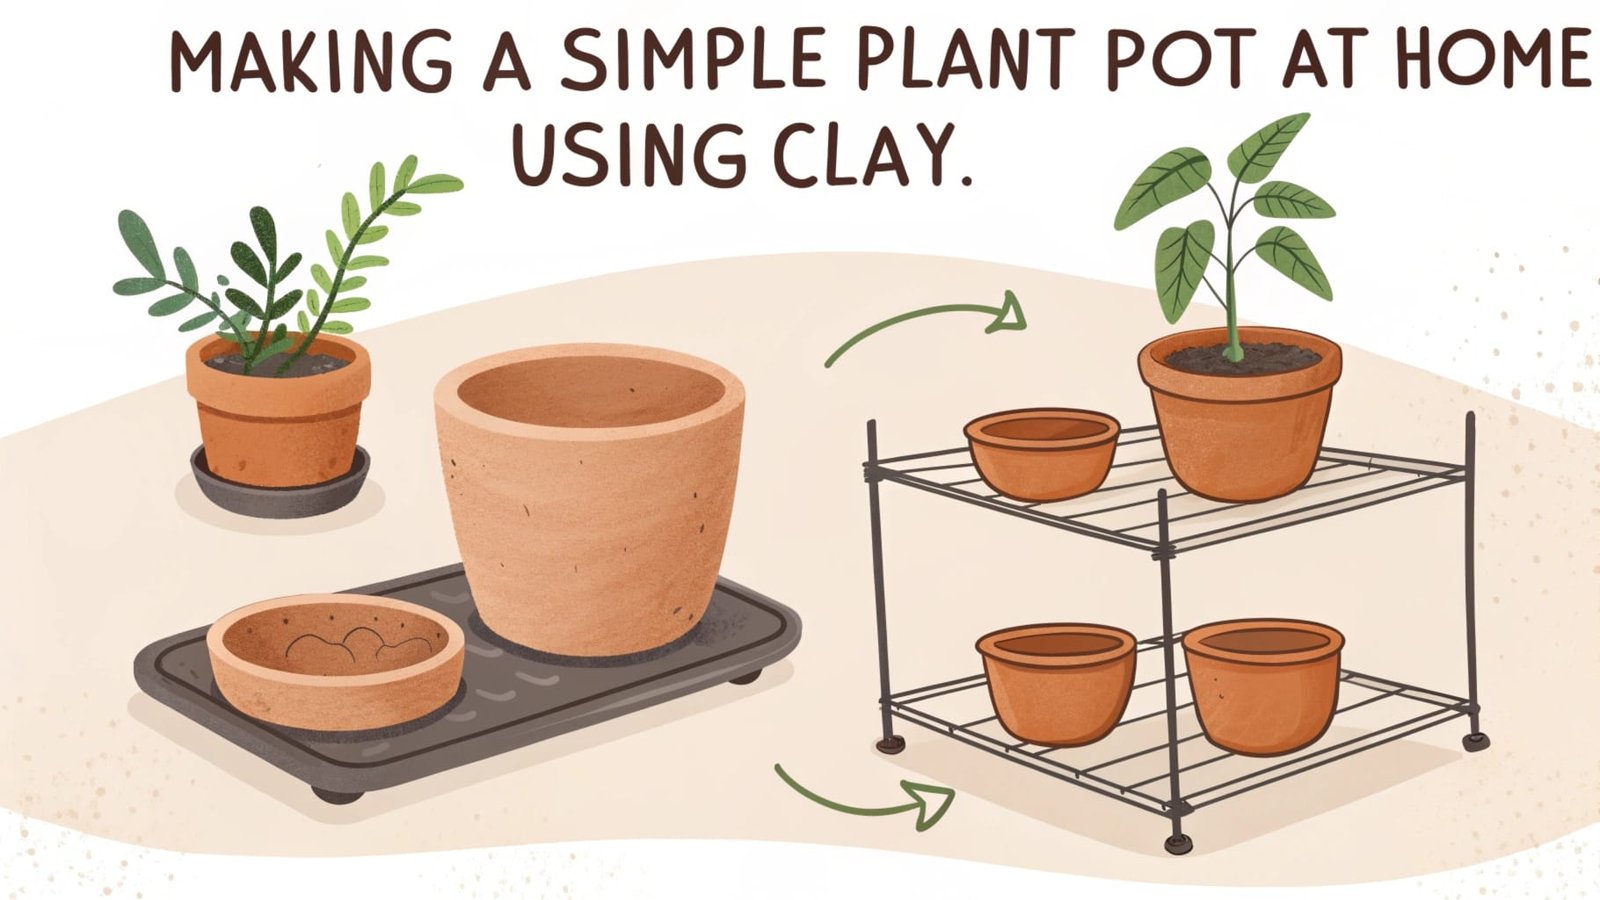
Materials Needed for Making Clay Pots
You’ll need a few basic materials to get started:
- Clay (air-dry or oven-baked)
- Rolling pin (optional, but helpful for flattening clay)
- Sculpting tools or a sharp knife to carve and smooth the clay
- Water (to smooth and soften the clay)
- Sandpaper (optional, for finishing)
- Paint or glaze (optional, for decoration)
Step-by-Step Guide to Making Clay Pots
- Prepare the Clay: Start by kneading the clay to soften it. If it’s air-dry clay, add a small amount of water to make it more pliable. This will help you mold it easily.
- Shape the Pot: Roll the clay into a ball, then flatten it with a rolling pin. Mold the flattened clay into a round shape, pressing it into a bowl to form the base.
- Build the Walls: Roll more clay into coils and stack them to form the walls of the pot. Smooth the seams with your fingers or a sculpting tool to ensure they stay together. Be patient with this step to ensure a neat and secure pot structure.
- Make Drainage Holes: Punch a few small holes at the bottom of the pot to ensure proper water drainage. This step is essential, as it prevents overwatering and helps air reach the roots.
- Dry the Pot: Allow the pot to dry thoroughly. Depending on the type of clay, drying may take anywhere from 24 to 48 hours. Ensure that it is fully dry before handling it further.
- Optional Decoration: After the pot is dry, you can paint or glaze it. This step is optional but can add a unique touch to the pot’s appearance. You can paint it in any color or add patterns to make it more decorative.
Benefits of Clay Pots
- Breathable Material: Clay allows air to circulate around the roots, promoting healthy plant growth. This is especially important for plants like succulents or cacti, which prefer drier soil.
- Durable: Clay pots are long-lasting and weather-resistant. They are a great investment, as they’ll last for years with proper care.
- Aesthetic Appeal: These pots have a timeless, rustic charm that looks great in any garden or home. Their earthy tone and texture blend seamlessly with nature.
Making your own clay pots can be a fun and creative way to enhance your gardening experience, while giving your plants a classic and natural home.
What Are Some Easy DIY Ideas for Making Plant Pots from Plastic Bottles?
Plastic bottles are one of the easiest items to repurpose into plant pots. They are lightweight, durable, and come in various sizes, making them perfect for creating planters of all kinds. Best of all, they’re easy to cut and decorate. This makes plastic bottles an excellent choice for beginners who want to dive into the world of DIY gardening.
Plastic bottles are one of the most common materials for making DIY plant pots. They are not only cost-effective but also customizable.
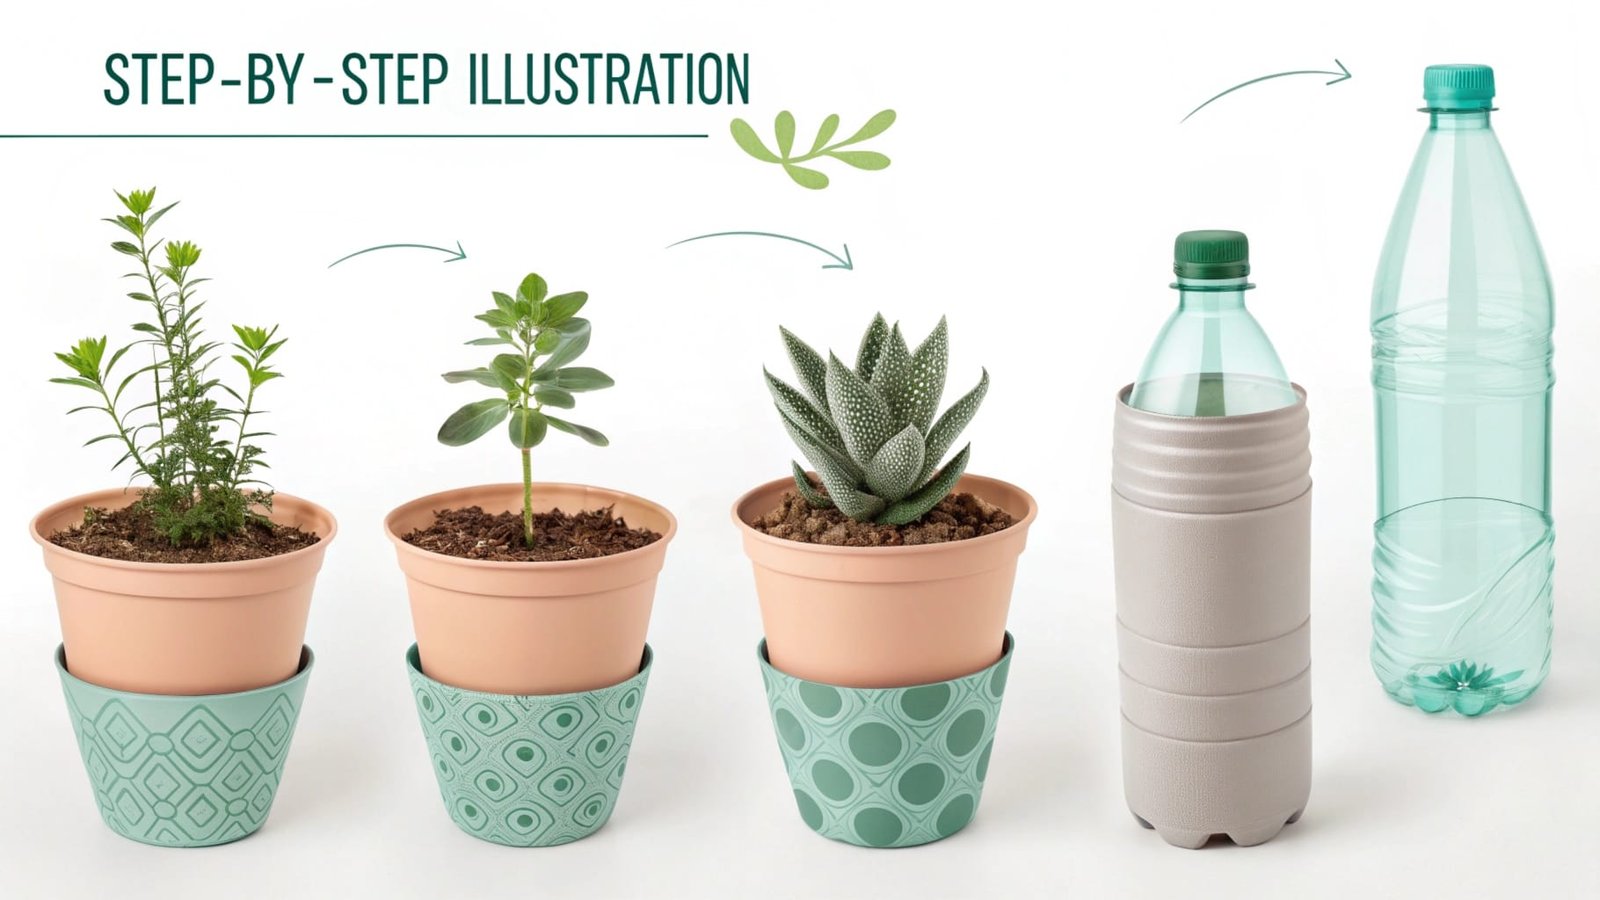
Materials Needed for Plastic Bottle Pots
You’ll need the following materials:
- Plastic bottles (any size will do)
- Scissors or a utility knife to cut the bottles
- A drill or a nail to make drainage holes
- Paint (optional, for decoration)
- Decorative fabric, twine, or rope (optional, for a more polished look)
Step-by-Step Guide to Making Plastic Bottle Plant Pots
- Choose Your Plastic Bottle: Find a plastic bottle that is large enough for the plant you want to pot. You can use a bottle as small as a water bottle for herbs or as large as a 2-liter bottle for larger plants.
- Cut the Bottle: Using scissors or a utility knife, carefully cut the bottle in half. For deeper pots, leave the top part intact, and you can cut it just below the neck to create a nice planter.
- Create Drainage Holes: Drill several small holes at the bottom of the bottle to ensure water can escape and prevent overwatering. Without drainage, the roots may rot from sitting in stagnant water.
- Decorate the Pot (Optional): You can decorate the bottle by painting it or wrapping it with twine, rope, or fabric to make it more visually appealing. This will help the pot blend in with your home or garden décor.
- Fill with Soil and Plant: Once your plastic bottle is prepared and decorated, fill it with soil, and place your plant inside.
Benefits of Plastic Bottle Pots
- Readily Available: Plastic bottles are easy to find and often free if you have them lying around.
- Lightweight: These pots are easy to move around and won’t weigh down your plant stand or windowsill.
- Customizable: You can cut and decorate the plastic bottles in any way you like, giving them a unique look. This flexibility makes them perfect for adding a creative touch to your gardening setup.
Plastic bottles offer a practical and fun way to create inexpensive plant pots, and you can make them fit any style or size requirement.
Can I Create Biodegradable Pots Using Newspaper or Cardboard?
If you’re looking for a sustainable option, consider making plant pots out of newspaper or cardboard. These materials are biodegradable, meaning they will break down naturally over time, making them perfect for starting seedlings or growing small plants. Biodegradable pots are ideal for gardeners looking to minimize waste and make a positive impact on the environment.
Newspaper and cardboard pots are eco-friendly and can be planted directly into the ground once the plant is ready.
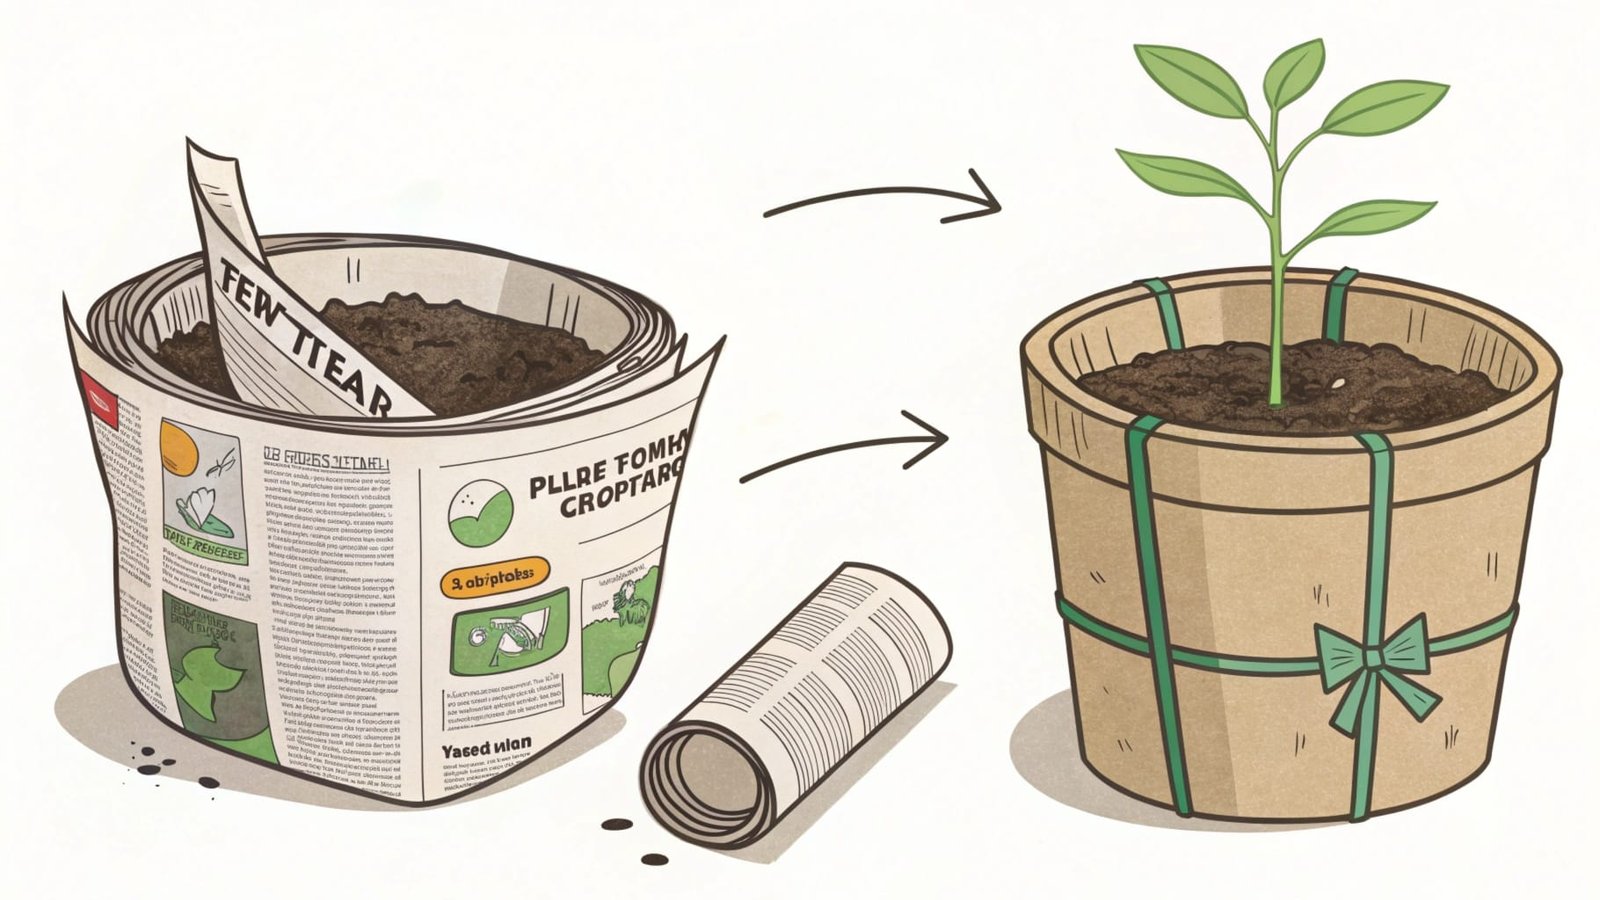
Materials Needed for Newspaper or Cardboard Pots
- Old newspapers or cardboard
- Scissors
- Flour and water (to make paste)
- A small container or mold (like a cup)
Step-by-Step Guide to Making Biodegradable Pots
- Prepare the Paper: Cut the newspaper or cardboard into strips that are about 1-2 inches wide. You can use newspapers, magazines, or any scrap paper.
- Make the Paste: Mix flour and water to create a paste that will hold the strips of paper together. This paste acts as glue and makes the strips sturdy.
- Form the Pot: Wrap the paper strips around a small container (such as a cup or glass) to form the shape of the pot. Use the paste to glue the ends of the strips together. Press the strips tightly to form a solid structure.
- Dry the Pot: Let the paper pot dry for 24-48 hours, ensuring it hardens properly. If you’re using newspaper, you might want to double-check that it’s completely dry to avoid any moisture problems.
- Plant Your Seedlings: Once the pot is dry, you can plant your seedlings in it. When ready, the entire pot can be planted in the soil. The cardboard or paper will break down and become compost, enriching the soil.
Benefits of Newspaper and Cardboard Pots
- Biodegradable: These pots can be planted directly into the ground, where they will decompose over time. This makes them an ideal choice for growing seedlings.
- Eco-friendly: Using recycled materials reduces waste and helps the environment. By making biodegradable pots, you’re contributing to sustainable gardening practices.
- Free: Newspaper and cardboard are often readily available at home, making these pots essentially free. You can easily repurpose items that would otherwise be thrown away.
These pots are an excellent choice for anyone looking for an eco-friendly, cheap option for starting seeds or growing small plants.
How Can I Decorate Homemade Plant Pots to Make Them Look More Appealing?
Once you’ve made your own plant pots, it’s time to decorate them to give them a personalized touch. Decorating pots can be a fun activity that lets you express your creativity, and it can also make your garden or home look more vibrant.
Decorating homemade pots is simple, and it’s a great way to show off your personal style.
Simple Decorating Ideas for Homemade Pots
- Paint: Use acrylic paints to add color and designs to your pots. You can create patterns, solid colors, or even detailed murals.
- Fabric or Twine: Wrapping the pot with fabric or twine creates a rustic, farmhouse look that is perfect for any garden.
- Decoupage: Use decoupage techniques to apply decorative paper napkins or fabric onto the pot for a textured, artsy finish.
- Stickers or Stencils: For a quick and easy design, use stickers or stencils to add a modern or playful look to the pots.
Step-by-Step Guide to Decorating Pots
- Clean the Pot: Make sure the pot is clean and dry before decorating. Wipe away any dust or dirt that might prevent the decoration from sticking properly.
- Choose Your Decoration Method: Decide whether you want to paint, use fabric, or try decoupage for your decoration.
- Apply Decorations: Apply your chosen decorative materials carefully to avoid making a mess.
- Seal the Pot: Once your decorations are dry, apply a clear acrylic sealant to protect your work from moisture.
Why Decorating Your Pots Matters
- Personal Touch: A decorated pot can add a unique, personal touch to your garden or indoor space. It gives your plants an identity and helps them stand out.
- Creative Expression: Decorating pots is a fun way to showcase your creativity and style. It’s a form of self-expression that can make your gardening experience even more enjoyable.
- Enhanced Aesthetic: Well-decorated pots can make your plants stand out, complementing the overall look of your space. They can serve as conversation starters and brighten up any room or outdoor area.
Conclusion
Making your own plant pots is an easy, affordable, and creative way to enhance your gardening experience. Whether you use recycled materials, clay, biodegradable options, or decorate them in fun ways, homemade plant pots can be just as beautiful and functional as store-bought ones. With these budget-friendly methods, you can cultivate your plants while reducing waste and adding a personal touch to your garden.


